Rebecca Cotzec
  • What I Do
  • How I Think
  • Thoughts and Insights
  • Lets Connect
What I Do
How I Think
Thoughts and Insights
Lets Connect
Rebecca Cotzec
  • What I Do
  • How I Think
  • Thoughts and Insights
  • Lets Connect
Browsing Tag
rimmel
Fashion

Outfit of the Week: The Easter Dress

April 9, 2015 1 Comment
outfit of the day blue bird print new look dress

outfit of the day blue bird print new look dress

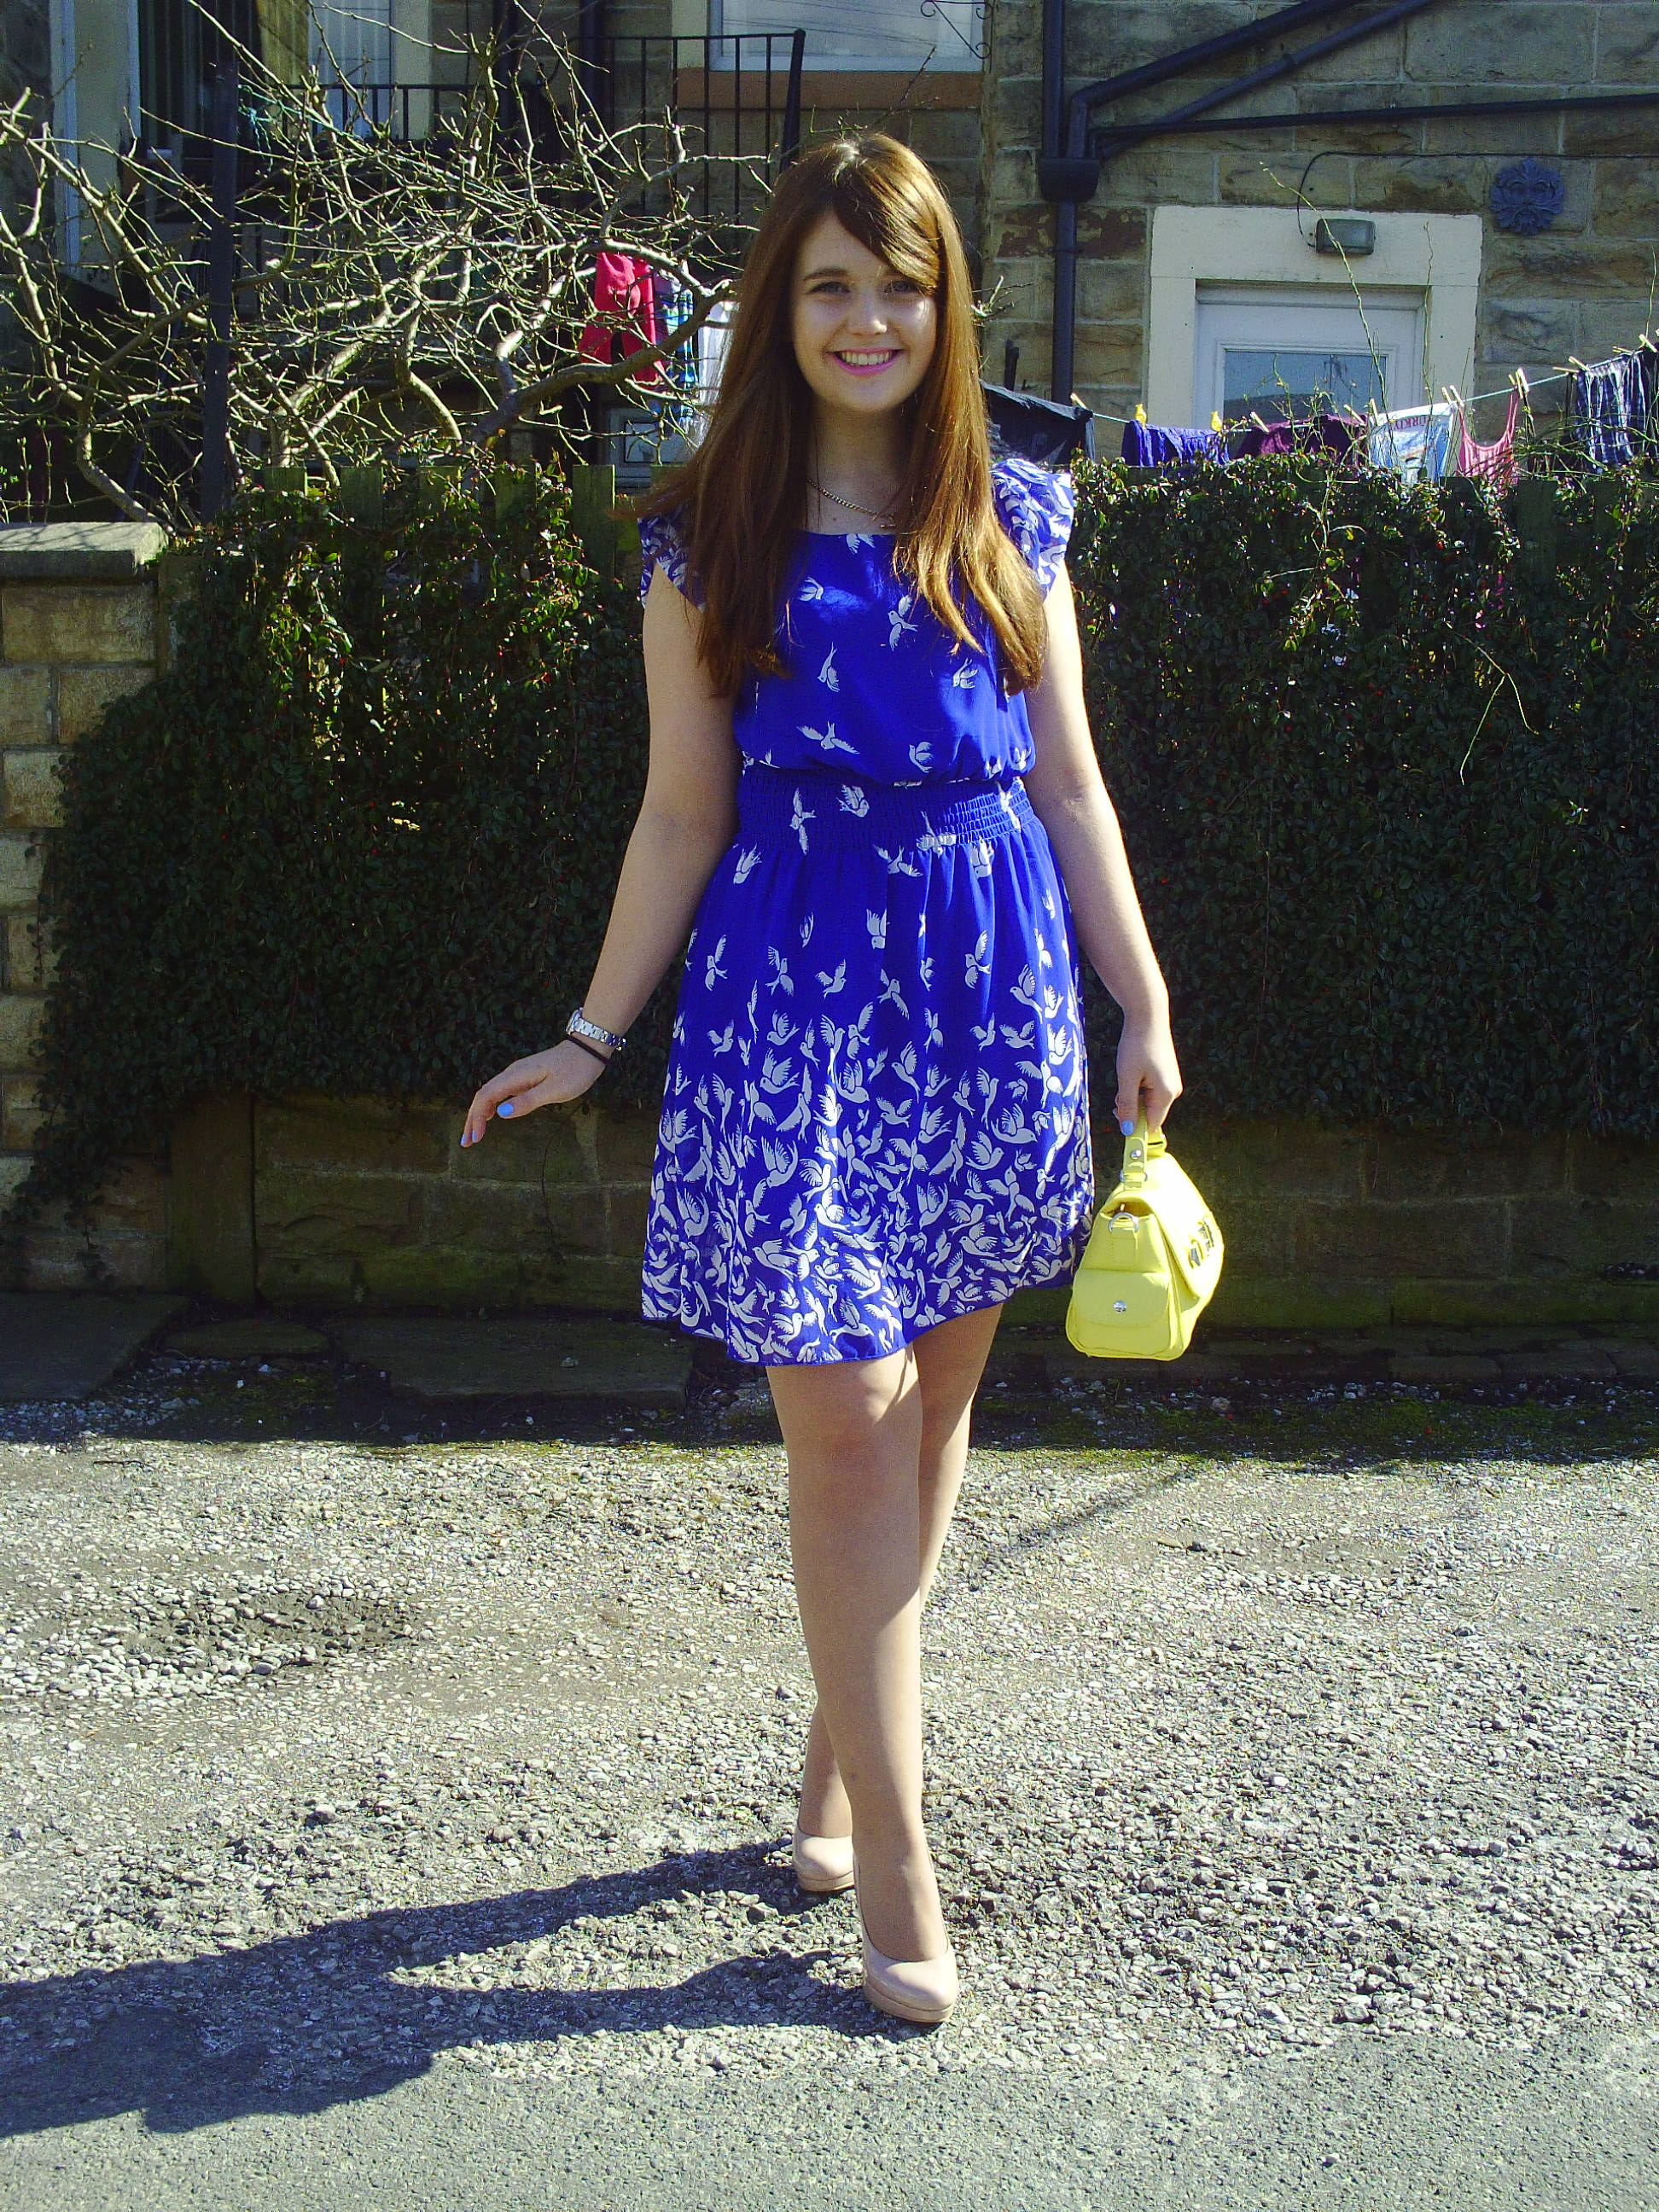
As it was sunny, I figured it was time to feature a dress on here. Though to be honest, with the recent down pours/general greyness I was in no way prepared and am as pale as possible. Jokes, I’m almost always this pale… I’ve yet to find the motivation for daily fake tan, and pale is interesting… right guys?

I originally bought this dress for work, but it came on holiday with me and now I guess it’s transitioned into an Easter dress. When I bought this, I wasn’t completely convinced. As a rule I’m not a fan of elasticated waists, they just never seem to sit right on me; as you can see in most of these photos. However I loved the bird print, and I think the blue is quite nice shade of royal. I got it from New Look quite a while back but haven’t really worn it. Care-free flying birds just don’t really go with thick winter tights for some reason.

The shoes are the same New Look courts that were bought in a hurry and feature in this other Outfit of the Week post. To say I prefer a lot of my other (more colourful) shoes I apparently wear these quite a bit as they go with basically everything.

The bag is possibly the cutest thing I’ve seen this month. It’s cheerful, tiny and just makes people instantly happy. I wish I could tell you it is mine; but it’s actually stolen from my sister, who also took the photos for this post. So big up my big sister, yo.

Small Yellow Primark Bag Outfit of the Week Easter

As I’m uploading these photos I’ve noticed two things; firstly when the sun is in my eyes and I go a bit squinty my cheeks do the impossible and become even chubbier. Who knew this could happen?

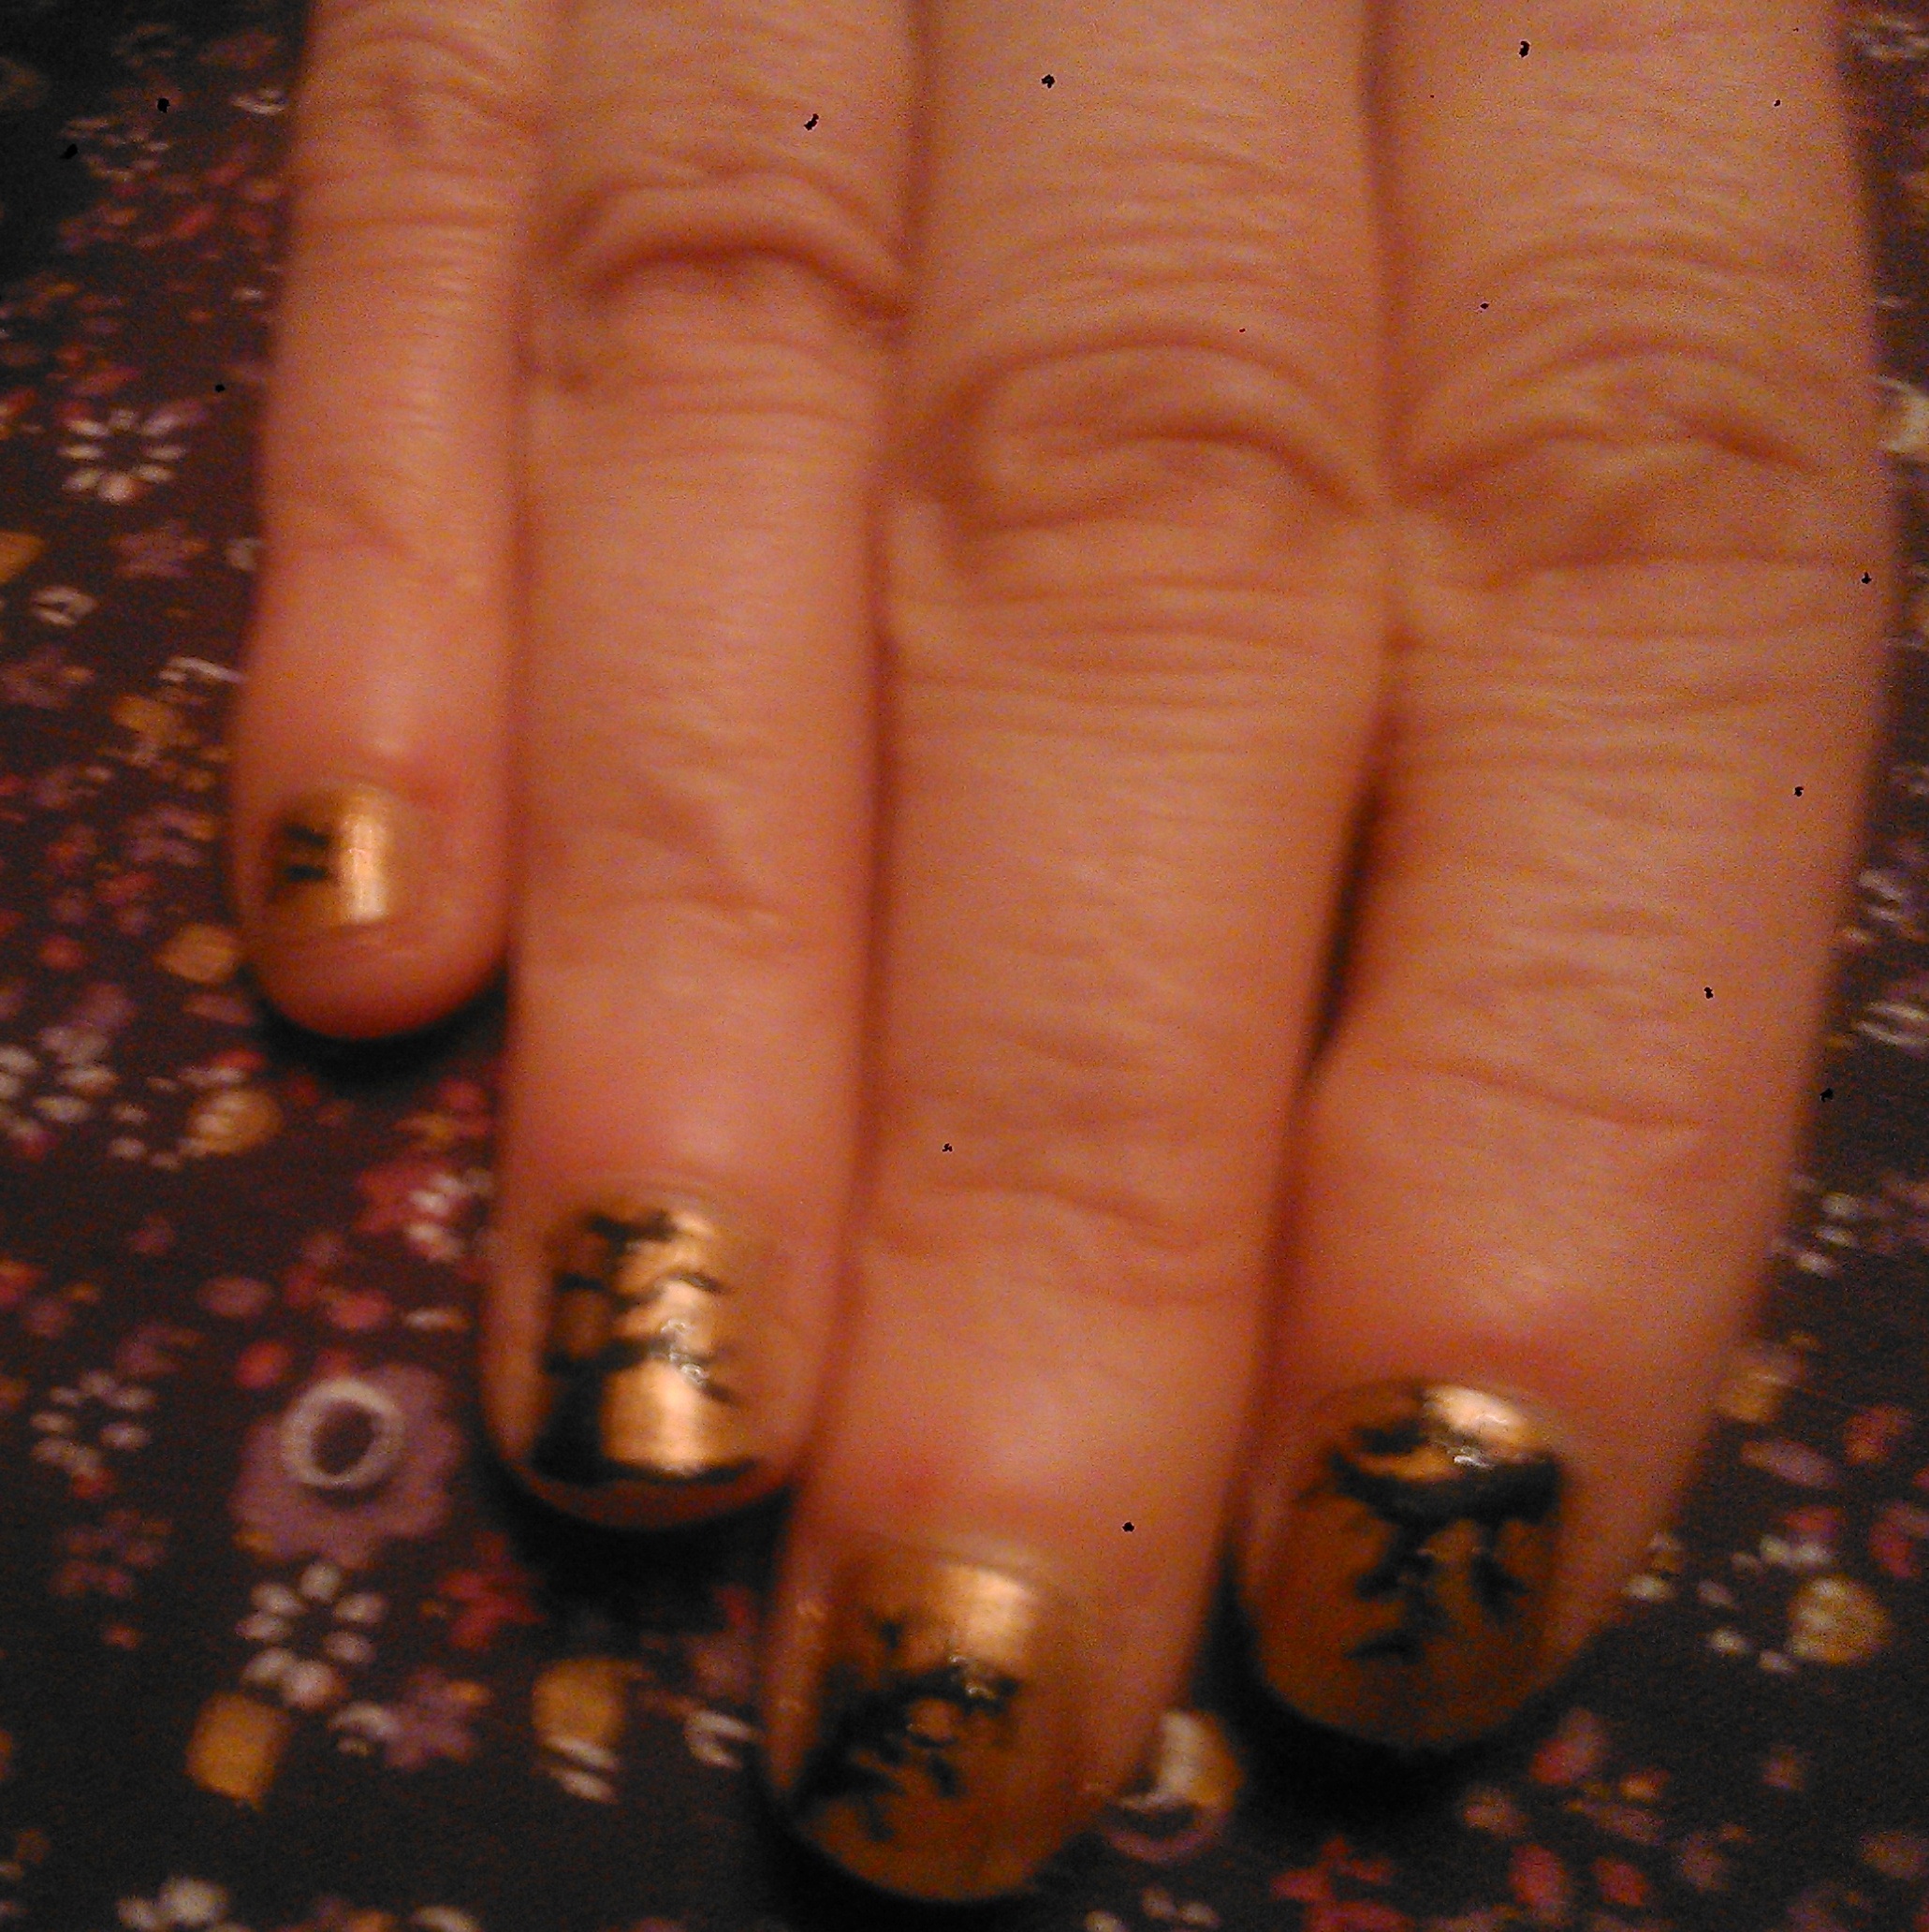
Secondly I noticed that my current manicure actually matches this outfit; this wasn’t planned, but feel free to pretend I’m a style guru and give me the credit for it all the same 😉 The blue is Rimmel’s 60 Second Dry range and the little lime slice is from a Poundland set. Just FYI, turns out Rimmel is really good for sticking nail art on… 4 days on and I’m yet to lose a lime.

The more observant amongst you will have notice I have a fringe in these photos. I haven’t had one cut, because basically I can’t be bothered with the constant up-keep it would demand. Instead this is just a fake-fringe, made with the strategic use of bobby-pins.

Outfit of the day easter blue newlook dress

No promises, but there may be a blog post and a vine coming dedicated to fake fringes this weekend. I can’t guarantee it because the boyf and I are having a night away, so there is a good chance I may get distracted. Soz.


Continue reading
Reading time: 2 min
Written by: support
Beauty

Halloween Nail Art How To: Haunted Forest

October 23, 2014 No Comments
Halloween nail art how to haunted forest

Halloween nail art how to haunted forest

If Edgar Allen Poe indulged in nail art, this would have to be his signature style. Spooky, subtle and hints of decaying glamour… The perfect Halloween nail art idea if you’ve still got to work on the day.

To create this Haunted Forest nail art look, I first applied the base coat of Collection’s Work the Colour in the shade Going for Gold. I was highly excited at trying out this colour as I have long been looking for a gold nail polish that is a clean metallic and not full of glitter.

It took two coats, but as you can see on the nails of my glamour assistant (aka The Mother) it gives a really nice coverage.

Halloween Nail Art How To Collection Going For Gold Nail Polish

Once the gold has dried, it’s time to start on the design.

I started by sketching a tree trunk onto the ring finger. Use a dotting tool, black nail art pen, or cocktail stick to draw a crooked thin line, from the tip of the nail up three quarters of the nail. Then starting from the bottom, slowly make it thicker, as you can see from my photo it is a good idea to try and make the line get thicker towards the tip to the nail like a tree trunk reaching down to the ground. Try to make it crooked, as this is Halloween nail art, and all sinister trees are crooked, are they not?

Halloween Nail Art How To Rimmel 60 second dry

For the ground of the haunted forest, I’ve just painted a black line. Then swiftly moved on to the fun bit of adding the branches to the tree. I’ve tried to keep them quite thin, however in some areas they do get a bit thick.

After adding the ‘main branches’ I’ve just painted on shorter off shoots from them. All of the black polish that I’ve used is part of Rimmel’s 60 Seconds  collection – which I think is perfect for nail art because of how quickly it dries.

On all other fingers (excluding the thumb) I have only put on one branch, using the same method. On the little finger I have created it in a more swirled shape, and on the other two fingers I have one going up and one going down. I was trying to give them the impression that they was slowly growing and creeping – smothering anything it their path. A bit like the thorns in Disney’s Sleeping Beauty.

Halloween Nail Art How To Haunted Forest

There’s always an excuse for a Disney pic, right?

For the thumb, I felt the need to do something a bit different. So I drew a horizontal line (thicker at one end than at the other) to act as a branch, then added on a large circle. On top of this I added a smaller circle and triangle to act like a beak (can you tell what it is yet?)

Halloween nail art how to

Halloween nail art how to raven

After asked if it was a cat (and reverting back to a pre-school child for a moment) I added on two wing shapes… and voila, a raven appeared.

For a final touch I added some thorn like off shoots to the branch.

Halloween nail art how to haunted forest

Halloween nail art how to haunted forest

I hope you liked this tutorial, and that it made sense!

Continue reading
Reading time: 2 min
Written by: support
Beauty

Halloween Nail Art How To: Vampire Fangs

October 22, 2014 No Comments
Halloween Nail Art How To Fangs

Halloween Nail Art How To Fangs

Hello!

Here as promised is the first in my series of Halloween nail art. I’ve chosen to start with this one as I think that it is simple, yet still packs a punch. Also if you just wanting to do one or two nails, I think this on the ring finger, with the rest in black would look amazing! As you will see from the photos; I’m quite a messy painter, but hey who cares… that is what cotton buds and nail polish remover is for!

So let’s start!

Firstly paint on the base colour of a plain black. The deeper the better. I’ve used Rimmel’s 60 second dry, purely to save time. I haven’t bothered to find the official name of this shade because let’s face it, it’s just plain black.

Halloween Nail Art How To: Fangs

For the second step you need to pain on the ‘lips’ otherwise known as two red strips. One at the top and one at the bottom. Again I’ve used a Rimmel polish; I don’t think they sell this actual one any more. However any bright red would do. See I told you this was simple!

Halloween Nail ARt How To Fangs

Finally (and this is where the nail art, becomes really Halloween-ified) you need to add in the fangs. I used a dotting tool to do this, but a white nail art pen or cocktail stick dipped in the white nail polish would work just as well. I like to start off with the fangs… Two at each side, top and bottom. I suggest drawing a white triangle starting at the red lips and going almost to the centre of the nail. Once you have the triangles, simply fill them in.

If you have room, I then suggest adding more teeth, using the same method but making them shorter. This was unfortunately where my battery ran out, so the image below is stolen from Google… However it should give you a good idea how the finished product will look! This is a classic style of Halloween nail art, and even if you are not doing anything special I think these are wearable and fun.

Halloween Nail Art How To Fangs


If you have done any Halloween nails, or have blogged about Halloween nail art please let me know in the comments!

Continue reading
Reading time: 1 min
Written by: support
Beauty

Review: Rimmel’s Lasting Finish Colour Rush

September 29, 2014 No Comments
Rimmel Colour Rush Review

Rimmel Colour Rush Review

On Sunday the boyfriend and I headed out for breakfast; before reality stole its way in and made us do an emergency Morrison’s shop. However, I managed to come away with something more exciting than their chicken tikka sandwich pieces, as hard as this is to believe.

What I picked up (or rather snatched up in an effort to escape food-shop-boredom) was this little wonder: Rimmel’s ‘Lasting Finish Colour Rush’ and it has indeed got my heart a rushing.

Admittedly it looks and sounds like a knock off Clinque Chubby Stick. Both describe themselves as lip balms with colour in one way or another, and as you can see below there is some definitely (read deliberate?) similarities in the packaging.

Rimmel Lasting Finish Colour Rush and Clinque Chuby Stick for Lips


In my rush, I picked up what looked like a soft pink (Give Me a Cuddle – that’s what Rimmel has called this shade, I’m not just weirdly whispering to you), but when I put it applied it is turned out to be more of a Barbie pink. Well, no, it turned out to be a very Barbie pink. It did cling slightly to the skin of my lips; however after a while the balm did its job leaving my lips in prime pouting condition. What impressed me most with this product was that it really was a lasting finish; I applied it at around 8.20am and did not have time to reapply it throughout the day. However whenever I checked my reflection the colour had more or less stayed put. Yes the shine had gone, but after various drinks and a sandwich can you really expect it still to be there? It had faded slightly, but evenly; to put it simply I had transitioned from Barbie to a soft pink, not that I was too fussed.

Rimmel Product review

Since both of the images were taken whilst sat in a onesie in various states of being camara ready, for the sake of your eyes I have cropped out bits of me that weren’t really relevant and although they were taken in different lighting I hope they give you some idea about its staying power.

P.S It does look a lot more pink in the day light.


P.P.S It also has a creamy vanilla scent- yum!

Continue reading
Reading time: 1 min
Written by: support
Page 1 of 212»

About me

I’m Rebecca—a social media strategist and copywriter with a background in brand storytelling and digital marketing. Currently open to roles that value clarity, creativity, and results.

  • LinkedIn

    © 2018 copyright PREMIUMCODING // All rights reserved
    Designed by Premiumcoding