Rebecca Cotzec
  • What I Do
  • How I Think
  • Thoughts and Insights
  • Lets Connect
What I Do
How I Think
Thoughts and Insights
Lets Connect
Rebecca Cotzec
  • What I Do
  • How I Think
  • Thoughts and Insights
  • Lets Connect
Browsing Tag
nail art
Beauty

The Christmas Nail Art Designs You Need This Year

December 15, 2015 No Comments
Multi Design Christmas Nail Art

Multi Design Christmas Nail Art

Something absolutely unbelievable and unforgivable has happened. There are less than ten days until Christmas, and as of yet I haven’t rocked any festive nail art. What’s gone wrong with my world? I used to do designs religiously but that seems to have fallen by the wayside these last few months.

This week though, Pinterest keeps sending me little notifications about people saving one of my Christmas nail art pins, and that’s got me all in the mood again. I am sat writing this in some chipped red sparkly nail polish, not a fancy mani… but let’s just keep that between you and me. I’ve rounded up my 9 favourite festive designs; so if you’re feeling really motivated (and a little bit bonkers) you could have a new one every day. If you do, you are definitely more motivated than me, high five for you guys.

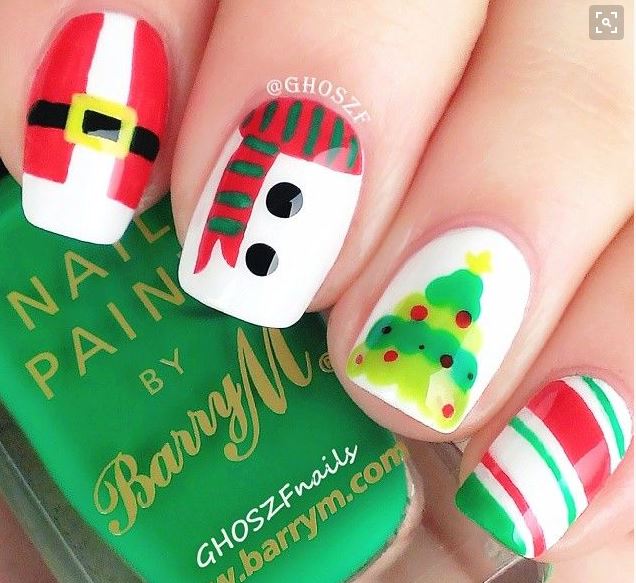
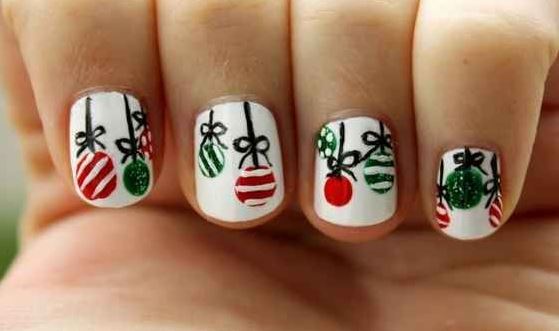
This one isn’t a tutorial but I’m pretty sure a clever gal like you can work out how to do it. I love the fun feel and variety with this one, and as it’s currently the one getting all the hits on Pinterest I figured to kick things off with it.

Multi Design Christmas Nail Art

This one is actually a nail stamp plate (who knew there was such a thing?) from Etsy… so I imagine this one is pretty speedy to do if you invest in one of those bad boys. I adore the colours used in this – there are not many times you can see a festive design in such subtle colours

Taupe Snowflake Nail Art Etsy


This Buzzfeed article features a whopping 24 ideas for festive nails – ya know, just in case my nine aren’t enough for you *glares*. Jokes aside, it’s full of pretty designs, including baubles. Big up da baubles.

baubles buzzfeed nail art


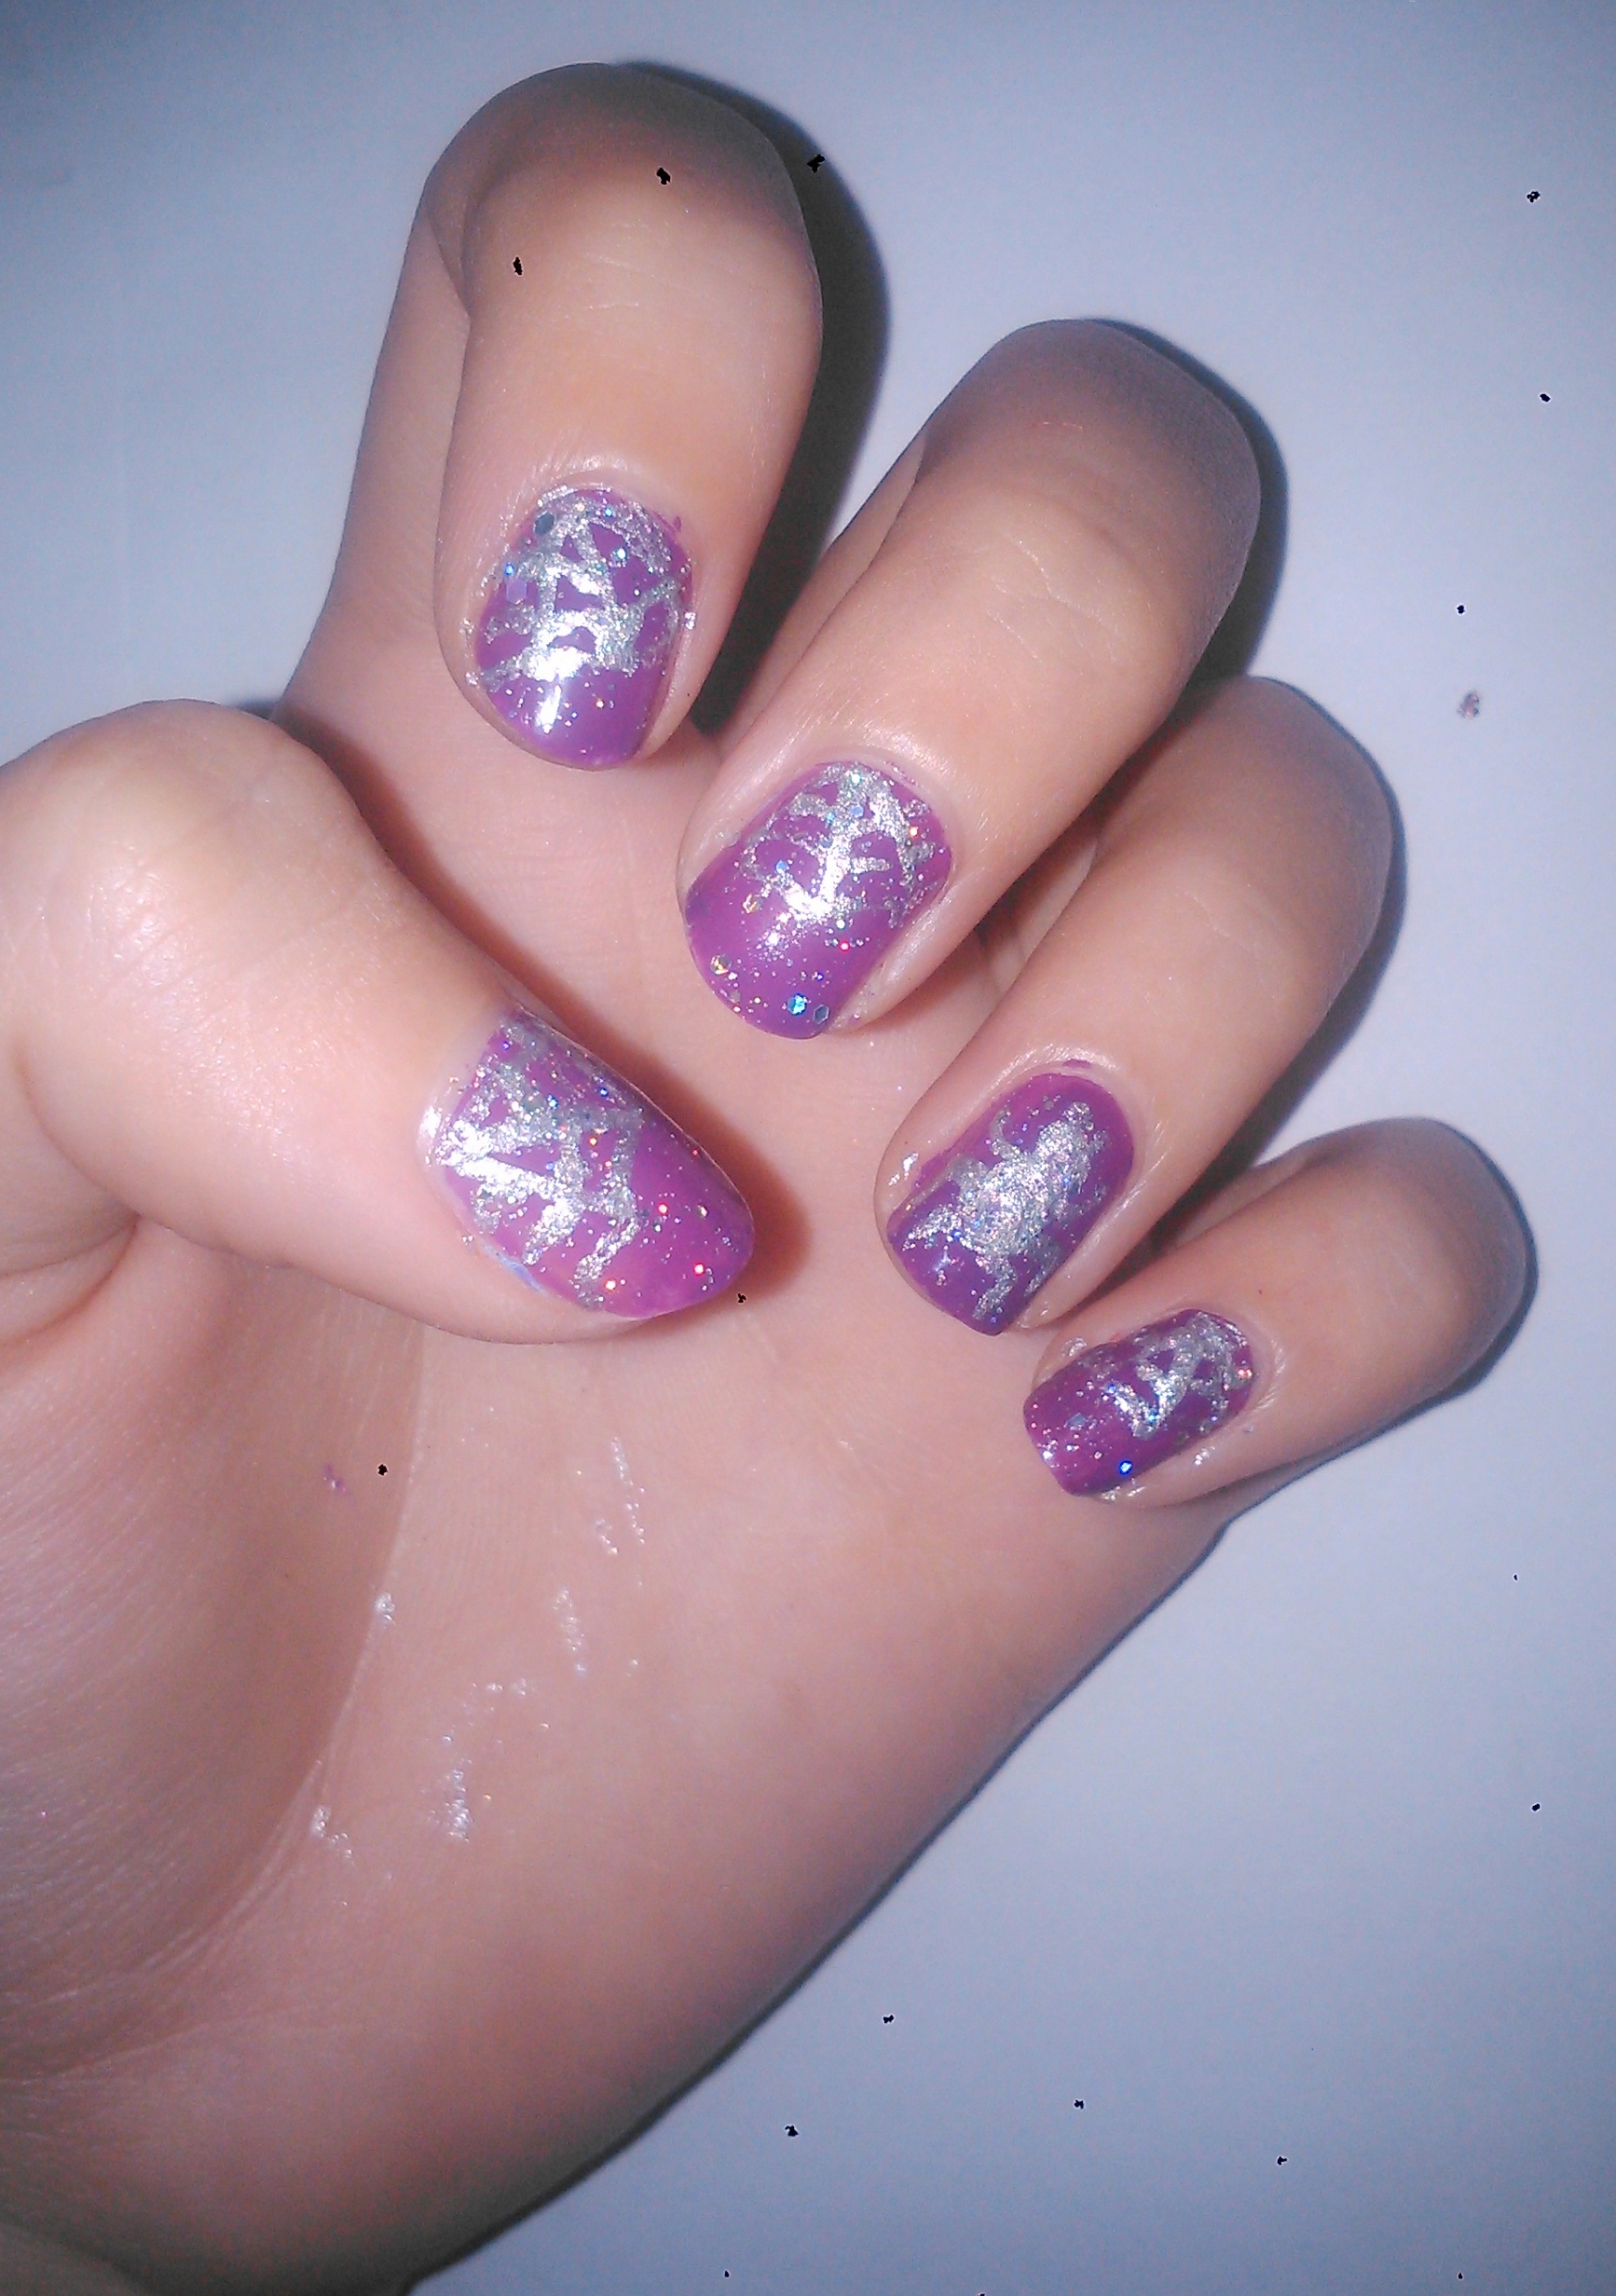
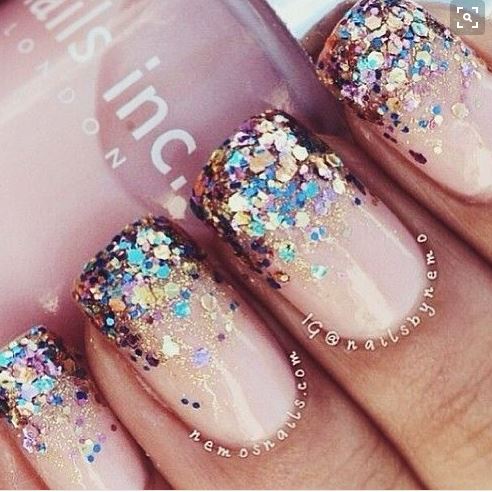
If Christmas for you is less about the big day and more about big nights, it cannot possibly get sparklier and glitterier than this.

Glittery Christmas Nail art


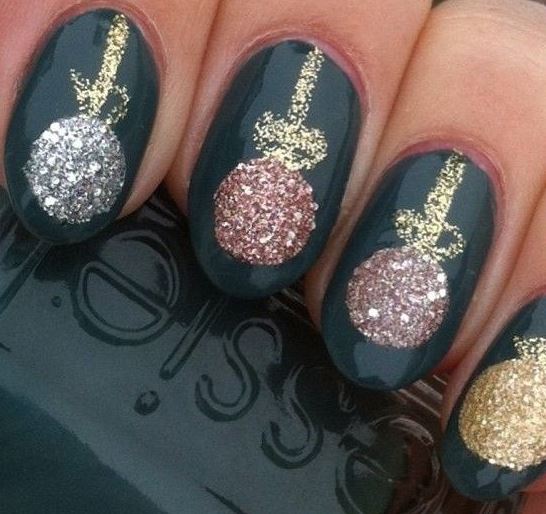
Sticking with the glitter, how perfect are these baubles? Swoon.

Glittery Bauble Xmas nail art


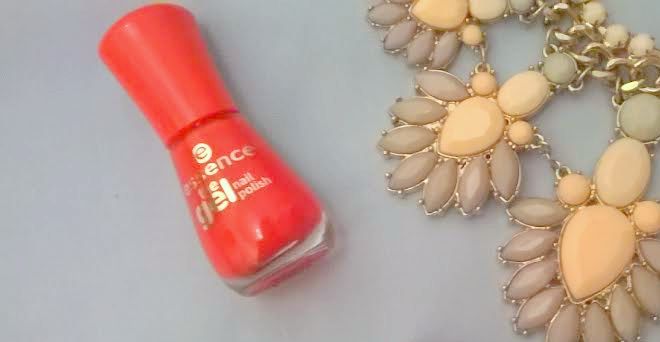
What I love about this one is how simple it is. The website this is from is now sporting a broken link and it seems there’s no longer a tutorial but I don’t feel like that’s a great loss. Quick, easy and fairly minimalist = perfect.

Glittery Bauble Xmas nail art


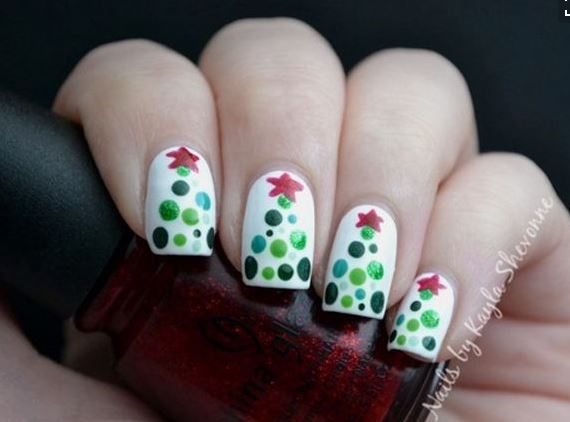
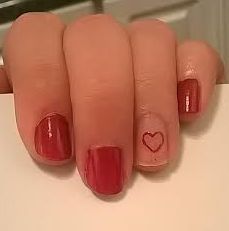
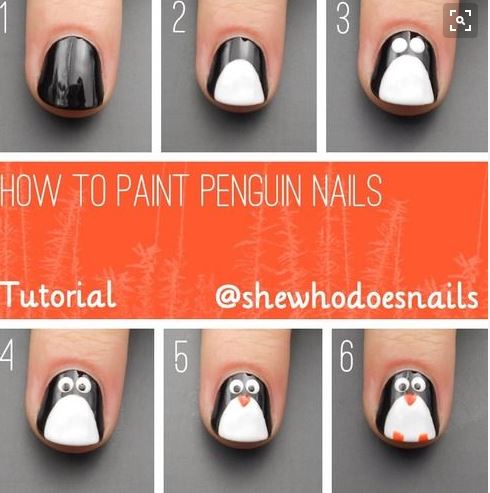
This one is on here because it is so damn cute. ‘Nuff said.

Penguin Nail Art Tutorial


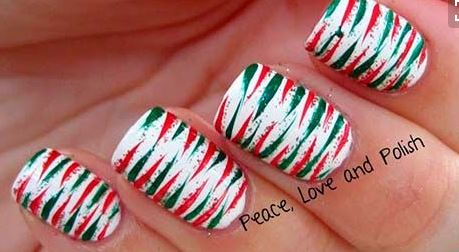
I really like the idea of candy cane nail art, but in all honesty I don’t trust myself enough to get all the curves the same on each one. I just know if I did one slightly wobbly it would annoy me no end. This nail art still reminds me of candy canes but it’s more abstract. Plus the article I’ve stole this image of includes 101 designs. Happy days.

Abstract Candy Cane Nail art

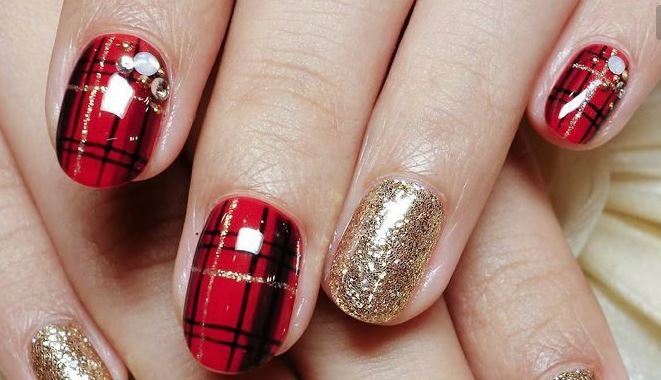
This final one isn’t too Christmassy but still has a definite winter feel. I love the statement gold nail, but if you prefer the plaid, this article has a load of inspo.

Tartan and glitter nail art

Now I’ve spent my time writing and uploading images of nail art I’m feel pretty embarrassed about the state of my manicure, so I suppose I best sneak off and do battle with it. If anyone can recommend an easy way to remove sparkly polish, that would be a god’ send.

Continue reading
Reading time: 2 min
Written by: support
Beauty

Outfit of the Week: The Bright Red Nails

June 18, 2015 1 Comment
essence cheap nail polishg review

essence cheap nail polishg review

Apart from a brief dinner date, all my outfits this week have been nothing special. I’ve had a week off work so have indulged in fail-safe dresses, ripped jeans and all that other off duty jazz. The only thing outfit-wise that’s been worth talking about is this week’s manicure.

A few weeks ago I bought (another) red nail varnish and a lovely soft lilac-y one from a brand that I had never heard of. Truth be told I’d only popped into the shop because it had replaced the local Superdrug so I thought I’d finally have a nosey. All in all, the shop was a bit naff; but these gems might tempt me to venture back in the future.

Essence is a cheap brand, and although the name suggests it intends on jumping on the Essie bandwagon, the bottles have a distinctive shape and a mammoth brush. The brush is so wide and the consistency is bloody brilliant. One swipe was nearly enough to cover a full nail, so perfect if you are in a rush.

The red is a true pillar box red with a high shine. Over the years I have bought a lot of so called ‘gel finish’ nail polishes, but this one is the only convincing one I have encountered. It’s oh so shiny. The aforementioned brush also means you get a nice even coverage and it dries pretty darn quick too.

Weirdly however, the red version does chip a lot more than the lilac. That is not to say it chips a lot; you don’t have to worry about big chunks being absent from after work drinks, the chips are fairly minimal.

Hands up if you’re a nail art fan! Just kidding, I know you can’t risk the smudges. To say the polish is quite smooth and quick drying if you run out of nail glue and decide to just stick things on willy-nilly anyway, you’re in luck. When I did my nails, I was apparently feeling a bit fruity as I reached out for my wheel of fruity nail art. I’m a bit ashamed to admit that I don’t know what fruit this is meant to represent, but I like the way the zesty coloured clashed with the red. Whatever the fruit, it has lasted through three shampoos, a hair mask and multiple bouts of washing up, which is great when you think it’s just the polish holding it on.

budget nail polish red review nail art

So there you have it, this week’s outfit is nothing more than a cheap nail varnish, which is just as well. As I type this I’m sat in an old cotton t-shirt, with wet hair– and let’s face it, that’s a photo not worth sharing.

Continue reading
Reading time: 2 min
Written by: support
Beauty

Nail Art How To: Valentine’s Day Negative Space Manicure

February 2, 2015 No Comments
Negative Nail Art How To Valentine's Day
valentine's nail art how to negative space hearts

OK, this photo is actually from a wedding we attended a few years back… but still!


So, it is almost Valentine’s Day. Now me and the boyfriend don’t really celebrate it other than going out for a meal. I tend to find all the romantic items that get shoved down our throats a bit sickly. One thing that I do love about Valentine’s Day however, is the chance to get creative with manicures and nail art.

So baring Valentine’s day in mind, I decided to experiment with negative space nail art. Negative space nail art is set to be the big thing for manicures this year, even though it looks like a bit of a faff to do. No pain, no gain, eh?

For this look I used Collection 2000’s Lasting Colour in Damson Jam. Which is possibly older than my niece, so there’s that. Despite being old it still goes on a dream, offering quick and equal coverage. I like this polish mainly for its colour; a lovely deep red. It kinda hints at being vampy without being full on femme fatale.

I painted 3 nails, leaving bare the nails on the thumb and ring finger. On the bare nails, I then used a dotting tool to draw the outline of a heart.

Negative Nail Art How To Valentine's Day

I thing painted the rest of the nail, using the dotting tool when I needed to paint close to the outline. As you can see on the photos, the heart on the ring finger went a bit wobbly however unless you’re looking (or taking blog photos) I think I can get away with it.

Negative Space Nail Art how to valentines day heart

And there you go, that’s basically it.

I was toying with doing the outline of the hearts in gold, but then big brother happened.


Continue reading
Reading time: 1 min
Written by: support
Beauty

Halloween Nail Art How To: Simple Spider

October 28, 2014 No Comments
Halloween nail art how to simple spider, rebecca cotzec

Halloween nail art how to simple spider, rebecca cotzec

Super simple and fast to do, this is a perfect manicure if you’re a beginner or don’t have time to create intricate Halloween nail art. For this look I have used Barry M’s bright purple as the base, an old unbranded silver nail polish and Barry M’s Diamond Glitter nail polish as a top coat .

First apply an even base coat in the bright purple. I love this nail polish, probably because the colour reminds me of Cadbury chocolate. Yum.

Once this has dried, use a dotting tool, nail art pen or cocktail stick to draw on three distinct lines. Try to get them all to originate from the same point, or as close as you can get, and flare outwards at an angle. This will form the basis of the web. You could have the starting point of the web at any place on the nail; however it makes more sense to me to place it into a top corner. I’ve chosen the ‘outer corner’ so that my webs are reaching inwards – as you will see in the photos.

Halloween Nail art how to, simple spider, rebecca cotzec

The second part of this Halloween nail art, is to add in the horizontal webbing (is that what it’s called?) on the web. Do you have webbing on a web? Who knows?

You can see on this photo what I mean. The lines here look a bit thick, and if you are worried about them merging into a silvery mass, just carry on. You can define them later by adding purple in where the ‘gaps’ would be.

Halloween nail art how to spider, rebeccacotzec

In the photo I have only completed one section but you need to carry on filling in the sections until the web is attached, so to speak, to each side of the nail.

I did these webs on four fingers, but felt that for Halloween nail art, it just needed something else to give it an edge.

As such, on my ring finger I created the spider. To do this, make a small circle ¾ of the way up the nail. This will be the head of the spider, and every head needs a body. So, make a larger oval attached to the head and add on one leg at a time. Try to give the legs a bit of a bend in them, rather than just sticking out straight.

Halloween Nail art how to, simple spider, rebecca cotzec

For a final touch to the spider, add two small stubs to the head to act as pincers.

Cover in glittery top coat and you are done!

Halloween nail art how to simple spider, rebecca cotzec

Told you it was quick!

Continue reading
Reading time: 2 min
Written by: support
Page 1 of 212»

About me

I’m Rebecca—a social media strategist and copywriter with a background in brand storytelling and digital marketing. Currently open to roles that value clarity, creativity, and results.

  • LinkedIn

    © 2018 copyright PREMIUMCODING // All rights reserved
    Designed by Premiumcoding