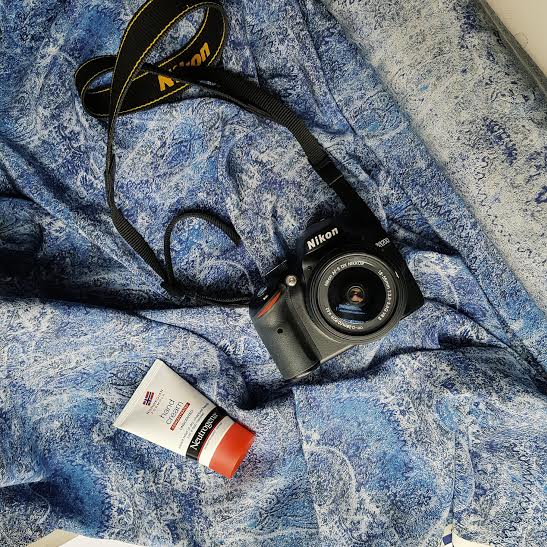
Here’s a confession: last year, or maybe the year before in the ‘what skills would you like to develop’ section of my appraisal I put down photography. I’d seen the product photography in action at the company I worked for and it seemed interesting, surprisingly complex and truth be told… in my imagination I guess I had a bit of a romantic view of photography. Within months, for all intents and purposes I had forgotten about it. Or at least, shelved it in the ‘would be nice, but it’s too busy to happen’ area of my brain.
As such, when I was asked to step up last month it came as a bit of a surprise. My blog images, and Instagram left a lot to be desired so being told I’d have a crash course and then have to crack on made me feel a little overwhelmed. The camera itself made me feel overwhelmed; the amount of settings, dials and knowing how much it cost instilled a tiny bit of fear – though I can confirm Nikon cameras can survive the odd bump or two. Thankfully. After a few bad photos and a lot of faffing arranging items, then re-arranging them I got the hang of it; and can now boast that my photos have been used in two print magazines alongside a website.
So here’s what I learned becoming a published photog…
- Don’t Make Assumptions – Beginner that I was, I assumed the best weather to shoot photos in would be a bright summery day. They say natural light is the best lighting, so what could be better than all the sun. Bright light, would surely show off all the intricate details, right? Wrong. It completely washed out all of the colour, or made the corners of even the softest item look to harsh. This is just one basic example, but there were loads of times I just knew something would make a brilliant photo… and it didn’t. So take loads of photos. Experiment.
- The Littlest Things Can Make a Difference – Although I like to think I have a good level of attention to detail these days, photography showed me what attention to detail really was. Having a product lean a teeny tiny degree of the wrong angle could throw off the whole shot. Similarly, one almost-invisible-to-the-naked-eye piece of lint would mean another bout of photoshopping. It may seem like nothing at the time you take the photo, but when it comes to uploading it whether to a blog, Instagram or website it will make all the difference.
- There is Very Little Blue and Yellow Can’t Fix – Blue and Yellow, especially in stripes has all the feels for me as it reminds me of family holidays to Butlins many years ago. But that’s another story. If you’ve taken a photo that doesn’t quite look right, try and alter the saturation – as a general rule saturation alters the amount of yellow in it, which can make colours look duller or stronger (as well as warmer.) Alternatively adding blue by playing with the temperature can make whites seem crisper and give the whole image a cleaner look without dousing it in light – as long as you don’t go too blue.
- Dress for Action – This sounds overly dramatic, but trust me. In order to get the perfect shot I’ve found myself balancing on tip toes, climbing on window frames and hanging off furniture. Until I attempted photography, I didn’t appreciate the need for proper trainers with a good grip, long tops and bobbles. On the odd day I forgot a bobble, I’ve had to go geek chic and pin my hair up with any pen I could find…. Because trust me when I say there is nothing more infuriating than taking the perfect shot, only to realise you can’t use it because lol your split ends are making a cameo.
- Finally, I guess its have faith – I dreaded showing people the photos I’d taken, sure that I’d be told to re-take them. But even the ones I thought were beyond help, often passed the test. While the image may look not quite right on the tiny screen on your camera or phone, export it and get it on a tablet, laptop or computer. Seeing the image on a bigger screen can allow you to get a proper feel for it, and what needs to be edited.
So there you have it, some basic but hopefully useful photography lessons.
